Back to all guides
2026-01-12
How to Make AI Baby Videos
This guide walks you through the simplest workflow: pick the right method, use a clear input (photo or prompt), set the right ratio, and generate. Follow the steps first—then reuse the worked examples below.
Quick Steps
A fast checklist you can follow in under a minute.
- 1Open the Baby Video tool.
- 2Pick a method: Photo→Video (more consistent) or Prompt→Video (more creative).
- 3Use a clear, front-facing photo OR write a short motion-focused prompt.
- 4Set aspect ratio (9:16 for TikTok/Shorts) and keep duration short (start with 5s).
- 5Generate, then iterate: improve crop/lighting and simplify motion if needed.
- 6Export and post (add captions for better retention).
Tool options you can choose
Modes:Text-to-VideoImage-to-Video
Aspect ratio:9:1616:9
Duration:5s10s
Resolution:480p720p1080p
- Resolution is shown when you enable Audio in Image-to-Video mode.
Tutorial Examples (with prompts & settings)
Each example below is pre-selected for this guide (not random).
Example 1
Realistic baby video (prompt → video)
Text-to-Video (Prompt → Video)
How to use this example
- 1.Open the tool.
- 2.Choose mode: Text-to-Video (Prompt → Video).
- 3.No input file needed (prompt-only).
- 4.Review the inputs and choose the settings shown below.
- 5.Generate and iterate (crop/lighting/prompt) if needed.
Settings (used in this example)
Example 2
Animate a baby photo (photo → video)
Image-to-Video (Photo → Video)
How to use this example
- 1.Open the tool.
- 2.Choose mode: Image-to-Video (Photo → Video).
- 3.Upload the input shown below.
- 4.Review the inputs and choose the settings shown below.
- 5.Generate and iterate (crop/lighting/prompt) if needed.
Inputs
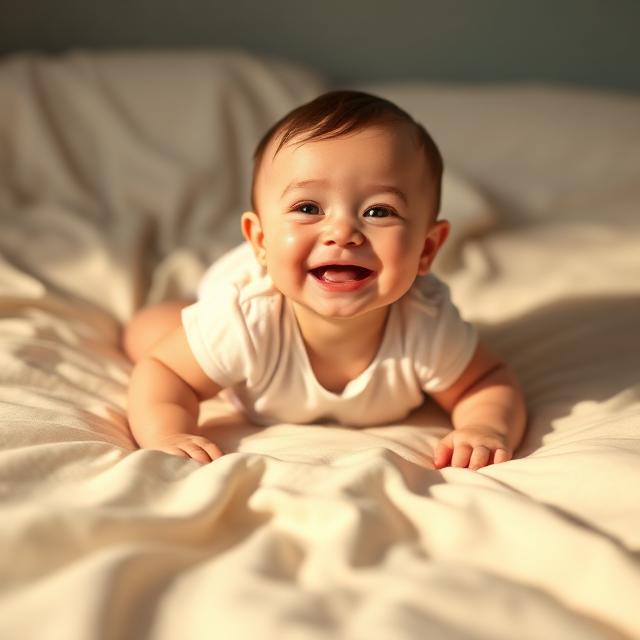
Inputs 1
Settings (used in this example)
Example 3
Template-style motion (photo → video)
Image-to-Video (Photo → Video)
How to use this example
- 1.Open the tool.
- 2.Choose mode: Image-to-Video (Photo → Video).
- 3.Upload the input shown below.
- 4.Review the inputs and choose the settings shown below.
- 5.Generate and iterate (crop/lighting/prompt) if needed.
Inputs
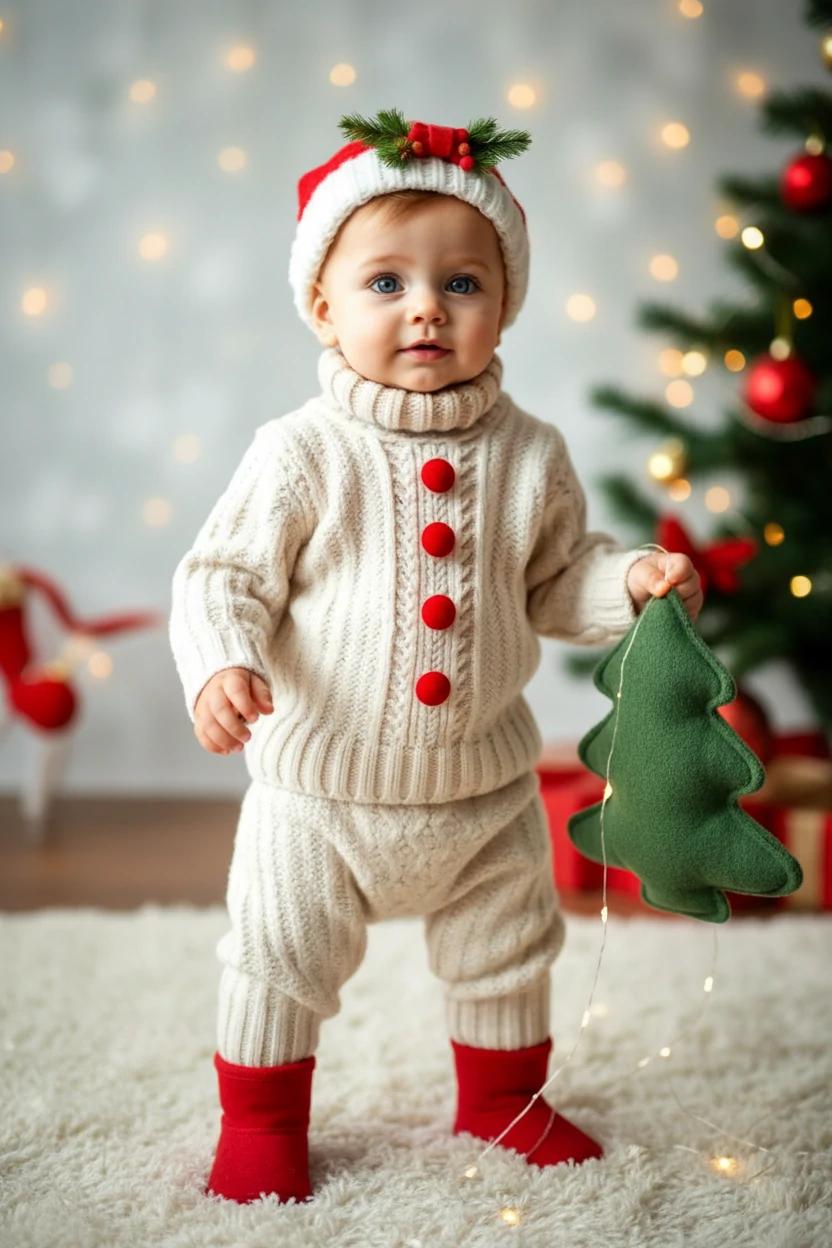
Inputs 1
Settings (used in this example)
Tips
- Keep motion simple (blink, smile, wave). Complex actions increase artifacts.
- Tighten the crop so the face is larger, but include shoulders to reduce wobble.
- Use clean backgrounds and good lighting for more realistic faces.
- Change one variable per iteration (prompt OR crop OR ratio) to learn faster.
FAQ
Which method is best for realistic results?▼
Photo→Video is usually more consistent for realistic faces, especially when you start from a sharp baby photo.
What aspect ratio should I use?▼
Use 9:16 for TikTok/Shorts. Use 16:9 for YouTube. Match your target platform from the start.
Why does the face look unstable or blurry?▼
Most issues come from low-quality inputs or tight/incorrect crops. Use a clearer photo, keep the face centered, and reduce motion complexity.
Ready to generate?
Open the tool and reuse the prompts/settings above.